

1. After spending some time in the remnant bin at the fabric store and my own fabric stash I came up with a color story inspired by one of the fabrics. I felt the colors would play well with the painting from last year.

2. I grabbed some photos of the pups my friend had posted online and converted them to thumbnail illustrations. Then I laid each one out to scale on a big piece of vellum. (I'd like to thank my one semester as an interior design student for supplying me with ten years worth of vellum for art projects).


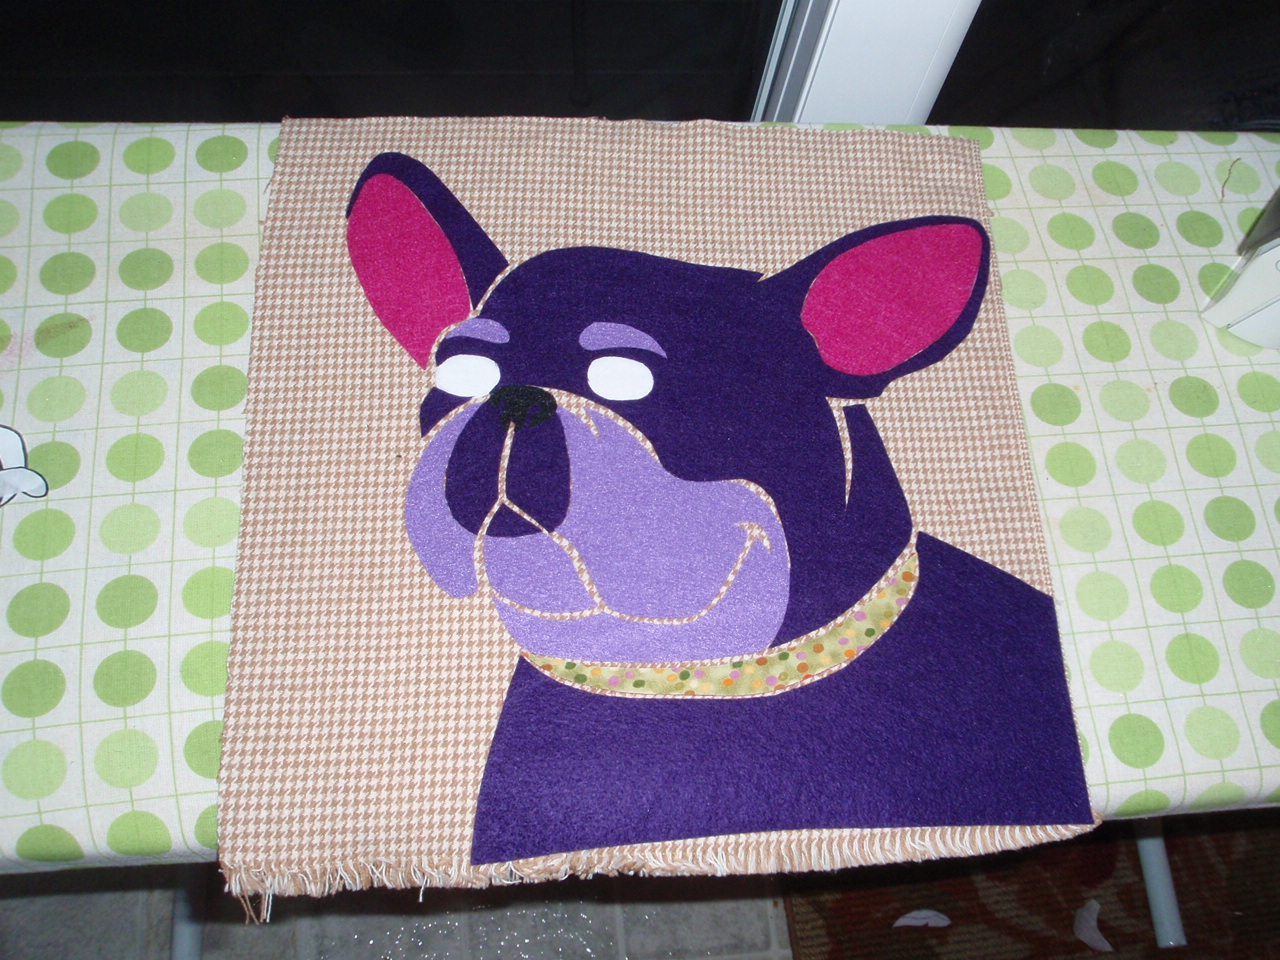
3. I broke down each portrait into simple shapes and traced them out with a Sharpie. I left negative space where same colors would be touching so that there would be definition (fat lines), but let different colors butt together (thin lines).

4. Using magical freezer paper, I traced out each shape (paper side up, plastic side down). With a warm iron I set the tracings onto the corresponding color felt, just long enough for the plastic side of the freezer paper to tack to the felt. I flipped each felt piece over and ironed one one piece of Steam a Seam to the backs, leaving on one side of the paper backing.


5. I cut out each shape with scissors and used a craft knife for small detail cuts. I removed the paper backing to the Steam a Seam which left the felt backs with a bit of a tooth to temporarily tack to the background fabric. Once I had the placement set I ironed the pieced down on a cotton setting with steam. I was super careful to lay an extra piece of fabric over the felt as to not melt the stuff. To make myself feel better I flipped the panel over and ironed the backsides, adding lots of pressure to make sure things stuck.
6. Because my background fabrics were from the remnant bin, they were 18" wide. And while I was making 18" pillow covers, I needed enough fabric for seam allowances. So I cut the fabric to create an inside panel and used the remainder of the remnant to make a border band for a different pillow. Once I stitched these all together I pinned to front panel to the back fabric using an velum pattern piece as a guide. The back panels were built with a 4" overlap for an envelope closure.

7. I used embroidery thread to add white highlights to the eyes. You totally HAVE to do this. Just like in illustrations, this sparkle brings the character to life. I also used bright oversized buttons as the dog tags, just to add a bit of whimsy and to subtly reference that the pillows are hand sewn.


And here they are!
 |
| Bristol |
 |
| Ralphie |
 |
| Carlee |

 |
| Back of pillows, envelope closures. |
I've got to admit, I was incredibly surprised at my low quantity of "oops" moments with this project. I had so much fun making these, though my pregnant legs and feet are letting me know how they felt about it today. A big CONGRATS to my friends Jill and Dave. I wish you guys all the love in the world and I hope you and the pups enjoy your new pillows!
UPDATE: Two of these pups were also featured in a Pop Art Pup piece I did earlier in the year. Check it out!
